Installation of the Sangam Plugin involves 2 steps :
1. Sangam Plugin Installation
Unzip the file sangamplugin.zip to the ECLIPSE_HOME/plugins directory.
The zip has
the directory org.sangam.plugin preserved, and you should be able to see
the
directory ECLIPSE_HOME/plugins/org.sangam.plugin after you've unzipped.
Simply
start (restart) Eclipse at this point. Installation is complete!
2. Sangam Plugin Setup
Setting up the Sangam Plugin is very easy - just follow the steps below :
You can also skip this step if you want to use the
pre-created users Humpty and Dumpty :-) I will be these names to explain the steps instead of using user1, user2 etc.
If you want to create new users/board go here (NOTE: only one person has to perform this task i.e. starting server and user/board creation. In later releases we will provide different distribution for Sangam-server and Sangam-client)
Go to Window->Preferences. Choose "Sangam
Preferences" . Enter your Syncshare
server
details (server path[this will be ip address of the eclipse where you have
created board and user], board name, user name, password). Remember, you
should have created an account on the server as given in 2.2 above or use
the pre-created board PAIR and users humpty and dumpty. Before you
proceed, you must verify that you have a valid connection. Click on
connect, and check the console to see if you could get the connection. If
you did, then you're ok to proceed to the next step. If not, check your
server
path and login details [NOTE: Make sure server is started]

If you are still having problems with this, open a support ticket at http://sangam.sourceforge.net/support.html
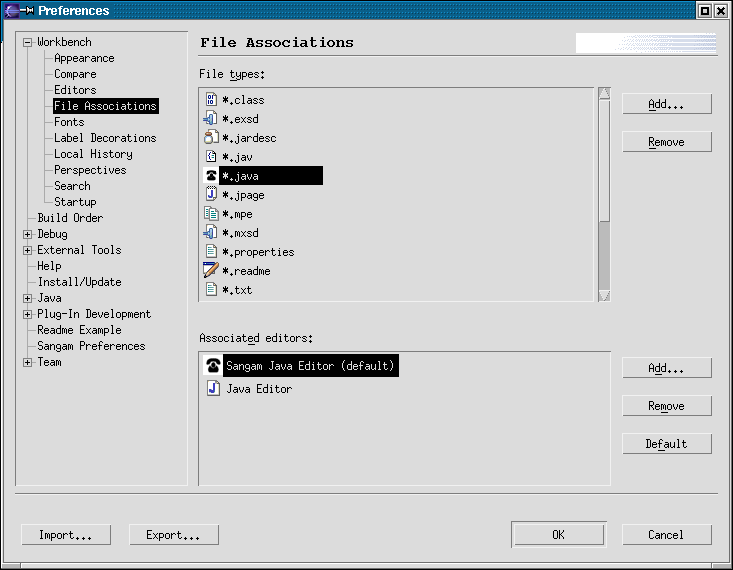
Assuming you have been able to establish a connection, go to
Window->Preferences->Workbench->File Associations. Choose *.java.
You should
see "Sangam Editor" in the Associated Editors box. Highlight
that and click
the Default button. Click ok.
2.4 Customization of Perspective
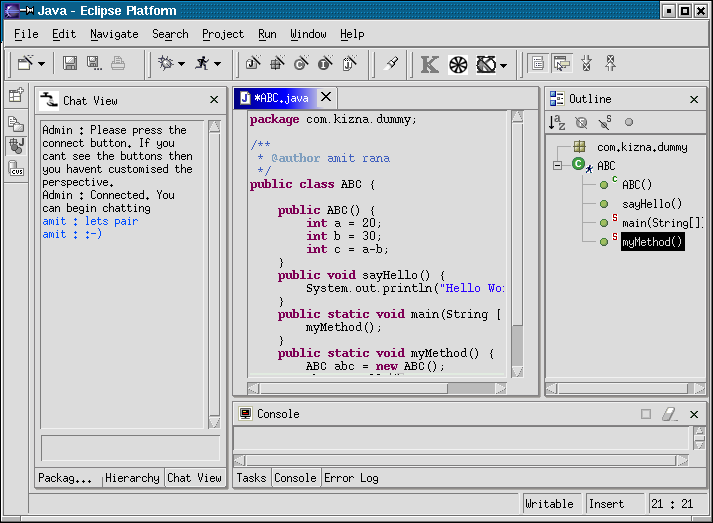
In order to bring the Sangam buttons into your perspective, choose
Window->Customize Perspective->Other.
You should be able to see "Sangam Common Actions".
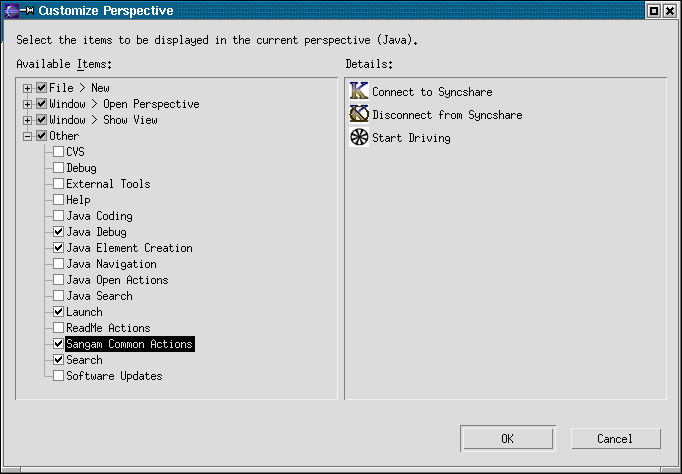
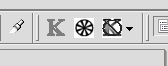
Make sure the box in front of it is checked. When you click ok, you should be able to see the Connect and the Drive buttons on your toolbar as shown below.

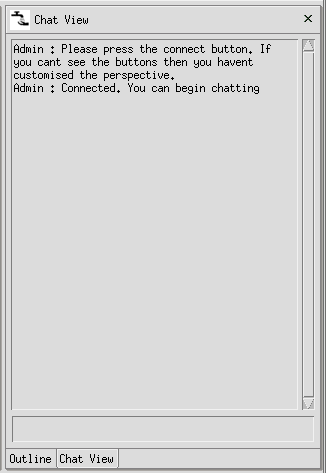
Normal communication is done via chat. In order to bring up the chat
view, choose
Window->Show View->Other
Expand the Other node, and choose Chat View.
You need to connect the chat view to the server by pressing the K button.
You should be able to chat with all participants in this view.
You might also play around with the locking or docking of the chat view
as you like (drag it about and put it in a place that you are
comfortable with - we recommend the navigator pane, if you use the Java
Navigation persepective).
You are now ready to begin pair programming with
Sangam.